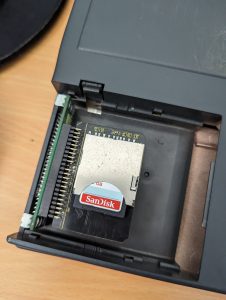
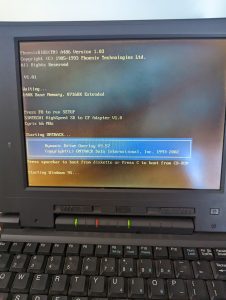
I use an old dynamic drive overlay tool called OnTrack to get around a 504MB drive-size BIOS limit on older machines. It works well enough for Dos and early versions of Windows. However, if you go try to mount the volume on another machine, it will appear to have no valid partitions!
OnTrack appears to put the original MBR at around sector 63, with the partition boot record (PBR) offset at sector 63 from there. This is quite different to a regular MS-DOS Drive layout - and this is caused by the customer loader OnTrack users to replace the BIOS routines.
To mount these volumes on Windows, we need a way to mount at an offset of 126 sectors (or 126 * 512 Sector Size = 64,512 bytes).
Fortunately, there is a utility that can do this: ImDisk.
ImDisk is an open-source virtual disk driver with many features, including RAM Disk and other support.
To mount my OnTrack volume using ImDisk, I need to know the physical disk # in Windows.
- Open an admin command prompt
-
Run
diskpartandview diskto get a list of disks. Note the 8GB disk is my SD Card, and it isDisk 2DISKPART> list disk Disk ### Status Size Free Dyn Gpt -------- ------------- ------- ------- --- --- Disk 0 Online 476 GB 1024 KB * Disk 1 Online 476 GB 0 B * Disk 2 Online 7580 MB 10 MB - Exit diskpart.
Mounting the volume
- Open an admin command prompt
- Run the following command:
imdisk -a -f \\.\physicaldrive2 -b 64512 -o ro -m x:
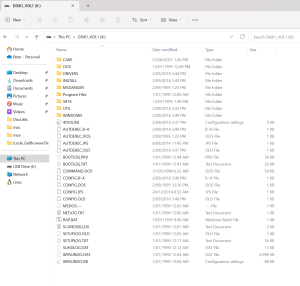
The volume is now mounted as X: Drive.
If it's not, double-double check your drive path and byte offset.
What is this doing?
-a- tells imdisk to attach a virtual disk-f- specifies the file. In this case, we're using the Windows NT Physical drive path.\\.physicaldrive2- note this correseponds with disk 2 fromdiskpart.-b 64512tells it use use an offset, in this case our sector offset (63 + 63 * 512) for the start of the first partition.-o ro- option of mounting as readonly. If you're unsure you've got the right drive and/or offset, make sure this option is set.-m x:- mounts the drive as X:
Making it writeable
You'll need to unmount the disk (imdisk -D -m X:) and re-run the above command, without -o -ro.


